Protemos
Revamp Your Workflow with the memoQ Ecosystem
Discover memoQ’s extensions such as memoQWeb and Customer Portal, and enjoy seamless integration with a large number of third-party applications.
Protemos is a business management system for translation companies designed to boost productivity. It is user-friendly, quick to set up and doesn’t require any special training.
Little wonder, then, that in less than a decade, Protemos has gone from a scrappy start-up to a trusted partner of thousands of companies and freelance translators.
Protemos unifies features such as client and vendor databases; financial details, including invoicing; storage and transfer of files; online CAT tools; job assignment; deadline and delivery management, and much more.
News of the Protemos/memoQ integration will be met with enthusiasm by users of both tools. It’s something many users have been requesting. And now it’s here.
Now, you can transfer projects between the two systems smoothly and simply, saving time that would otherwise have been spent on manual copy-and-pasting. With one click, you can reproduce your Protemos project in memoQ with no losses: all the info about language pairs and deadlines, client info and files is transferred across. It works the other way around, too – your memoQ project can be pulled into Protemos with all the related information intact.
But that’s not all.
Let’s say you create a project in Protemos and another in memoQ, independently. With one click, you can link these projects together; with another click, you can unlink them. It really is that simple.
One of the most appealing aspects of the Protemos/memoQ integration is how simple it is.
It takes just a few minutes to get started and doesn’t require any special knowledge or training.
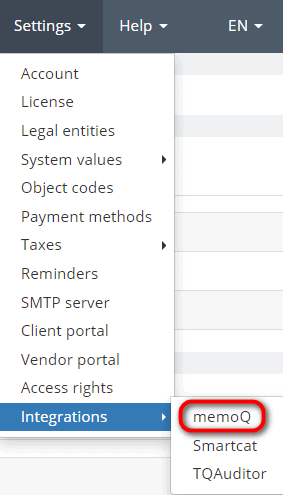
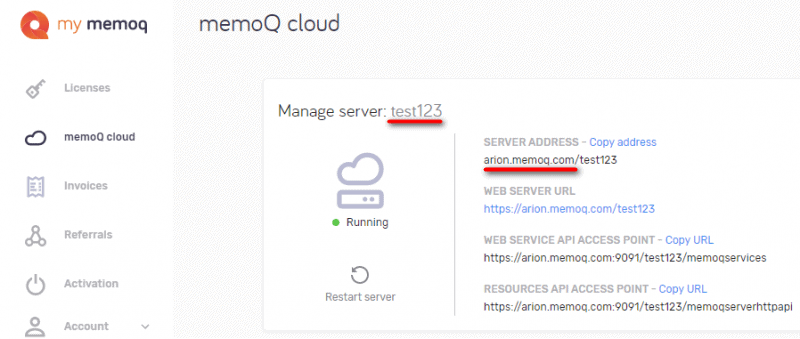
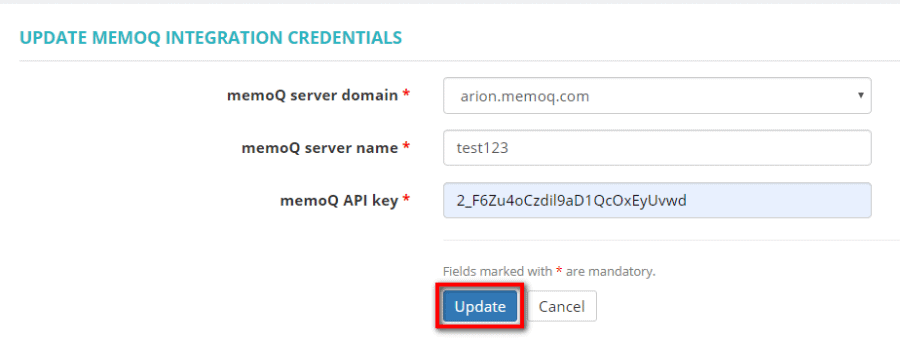
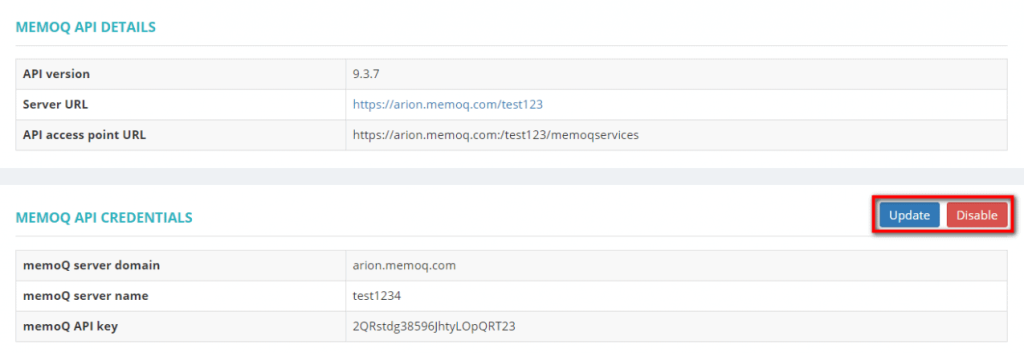
The screenshots below show just how easy it is.


Now you’re good to go. See? We promised it was easy.